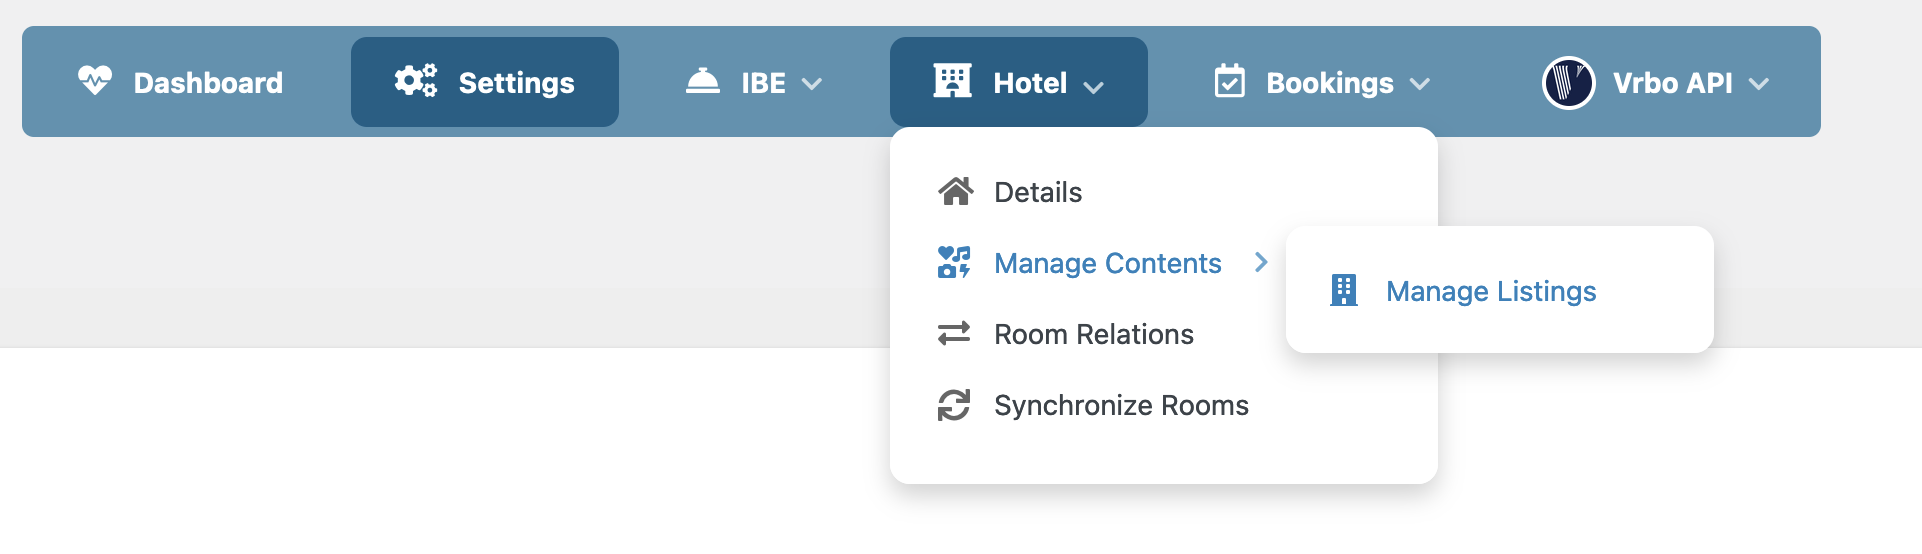
Once the channel Vrbo API has been activated with your E4jConnect subscription in Vik Channel Manager, visit the page "Manage Contents - Manage Listings" as illustrated in the screen shot below:
The goal is to create the listings that will be advertised on Vrbo and synced with the corresponding room-types previously defined on your website with Vik Booking. Basically, the "Manage Listings" page will allow you to prepare your account for the activation by providing the various information and lodging details for each listing that should be available on Vrbo.
The screen shot below shows how the page "Manage Listings" looks like when you start setting up the listings for Vrbo:

The above screen shot highlights three important details of the Listings Management page:
- Account ID: this will be automatically assigned as soon as you provide enough information to pass the minimum content validation for your listings, and after synchronizing your listings, at least one, with Vrbo through Vik Channel Manager. This value will identify your Property Manager account with E4jConnect on Vrbo.
- Generate Listings from website: rather than having to create each listing manually, you can let the system import the basic information from your published room-types in Vik Booking. At that point, you will choose what listings to publish and sync with Vrbo.
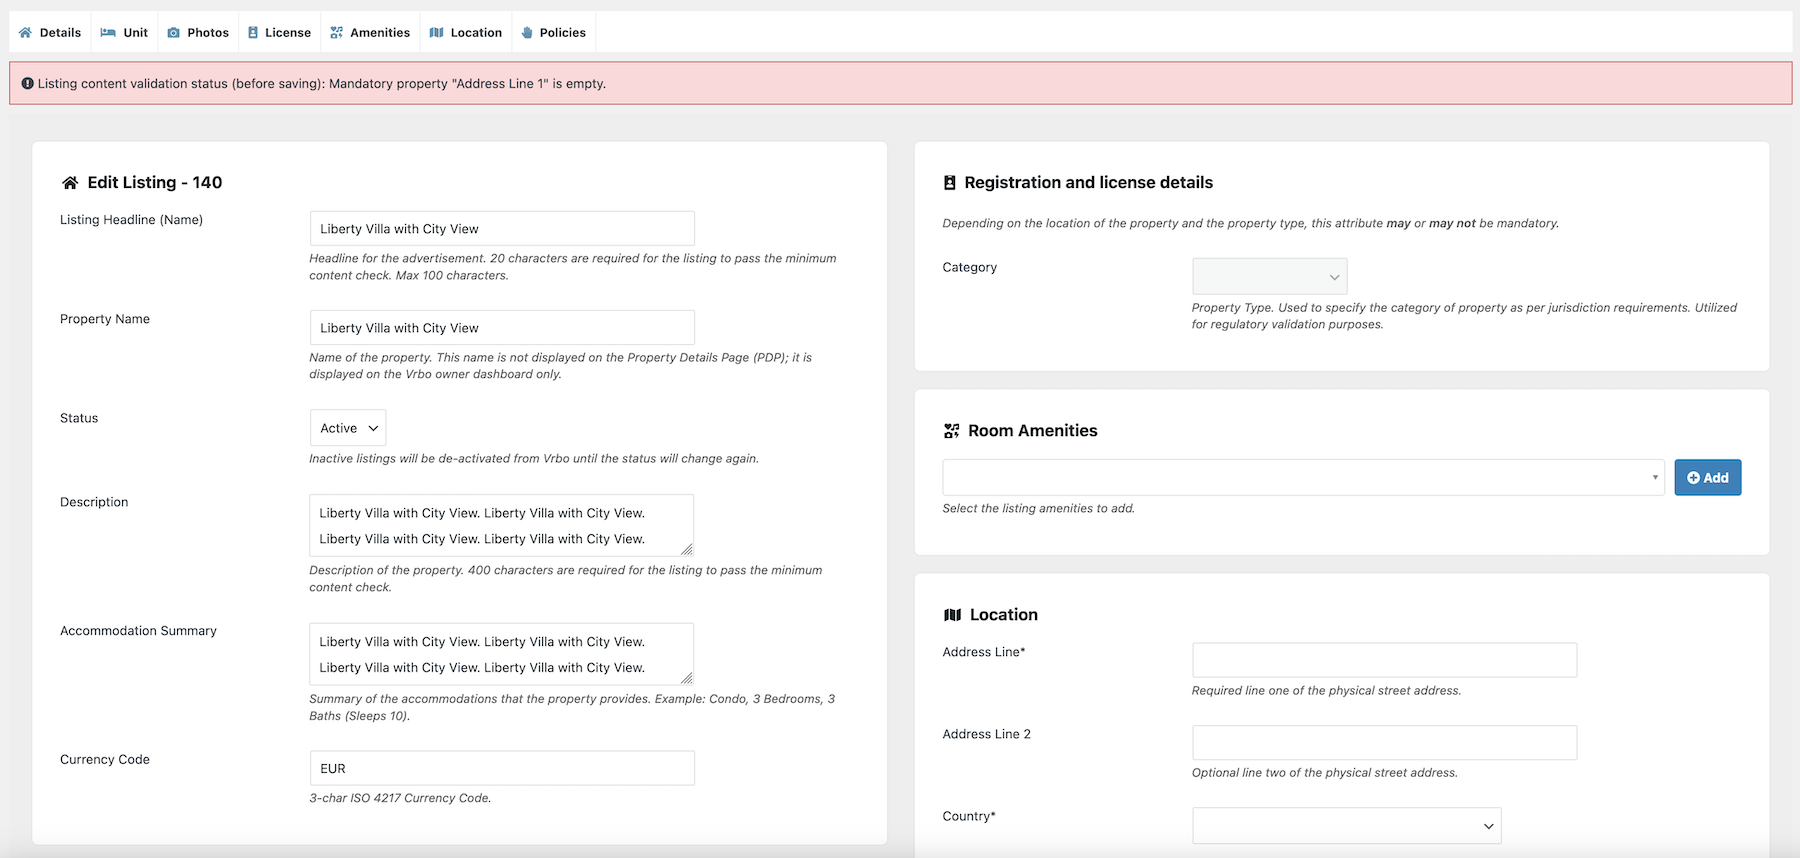
- Minimum Content Validation status: the two listings displayed in the screen shot are NOT passing the minimum content validation. One is missing the "Address" and the other is missing the "Description". By clicking the "Edit" button you will be able to provide the required information to pass the content validation and be able to synchronize the listings with Vrbo.
All you need to do is fill the required information for each listing you would like to publish and list on Vrbo until the status band will show no error messages.
The listing management page will guide you through the various sections to provide the required information for your Vrbo listing to pass the minimum content validation, and to provide accurate details that will be displayed to guests on the Vrbo websites:
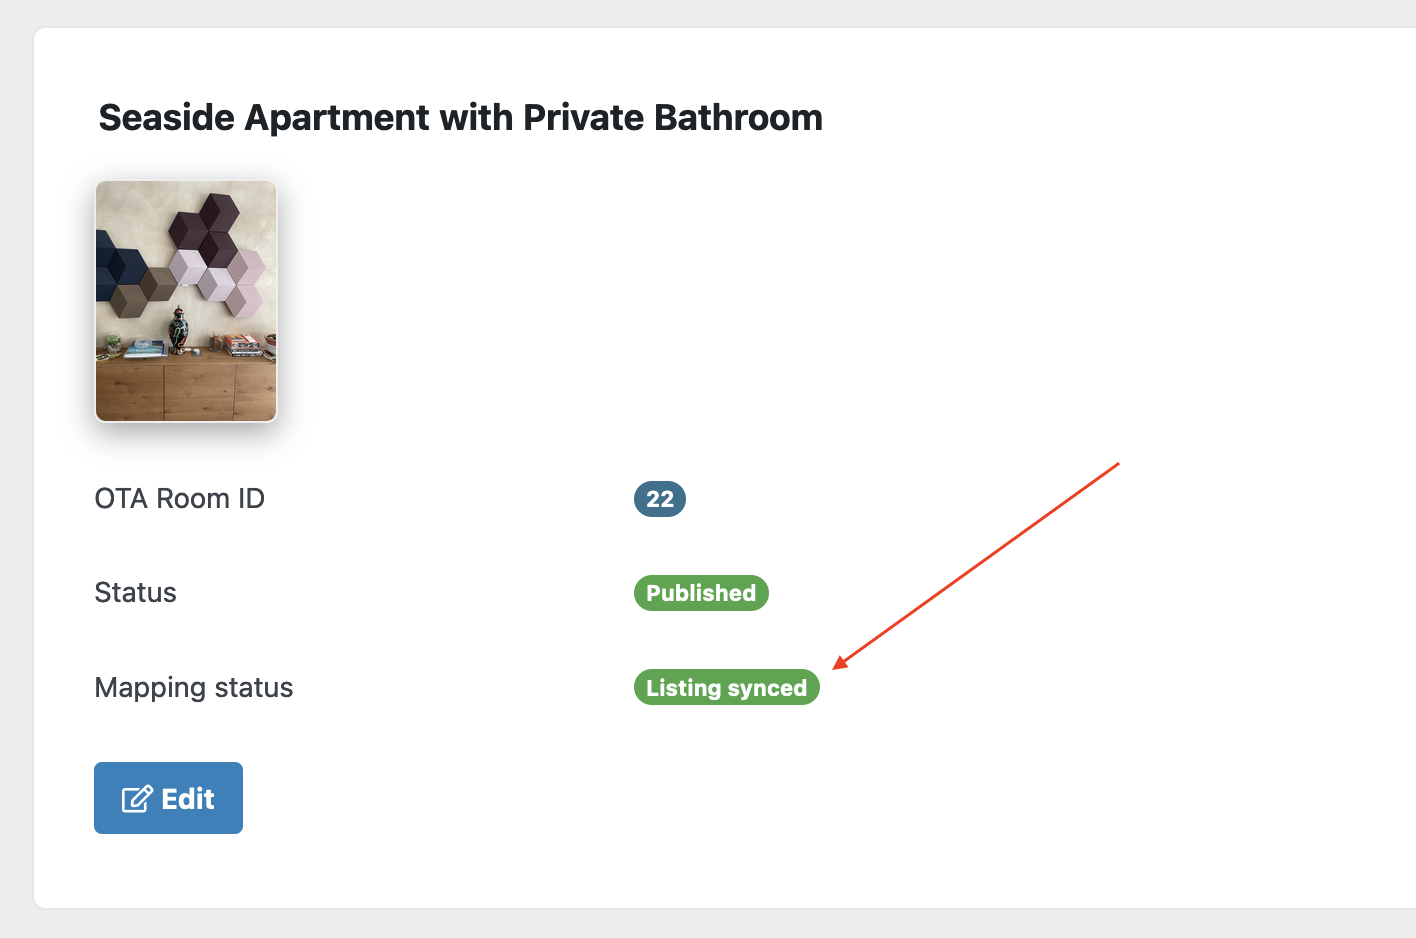
This is how a listing with enough contents will look like in the "Manage Listings" page for Vrbo in your Vik Channel Manager:

The screen shot above shows that the listing content is valid because no errors are displayed for missing details. However, the "Mapping status" is suggesting that the listing is ready for sync, meaning that you need to synchronize the listing to the corresponding room-type in Vik Booking in order for it to be ready for the activation of the connection on Vrbo.
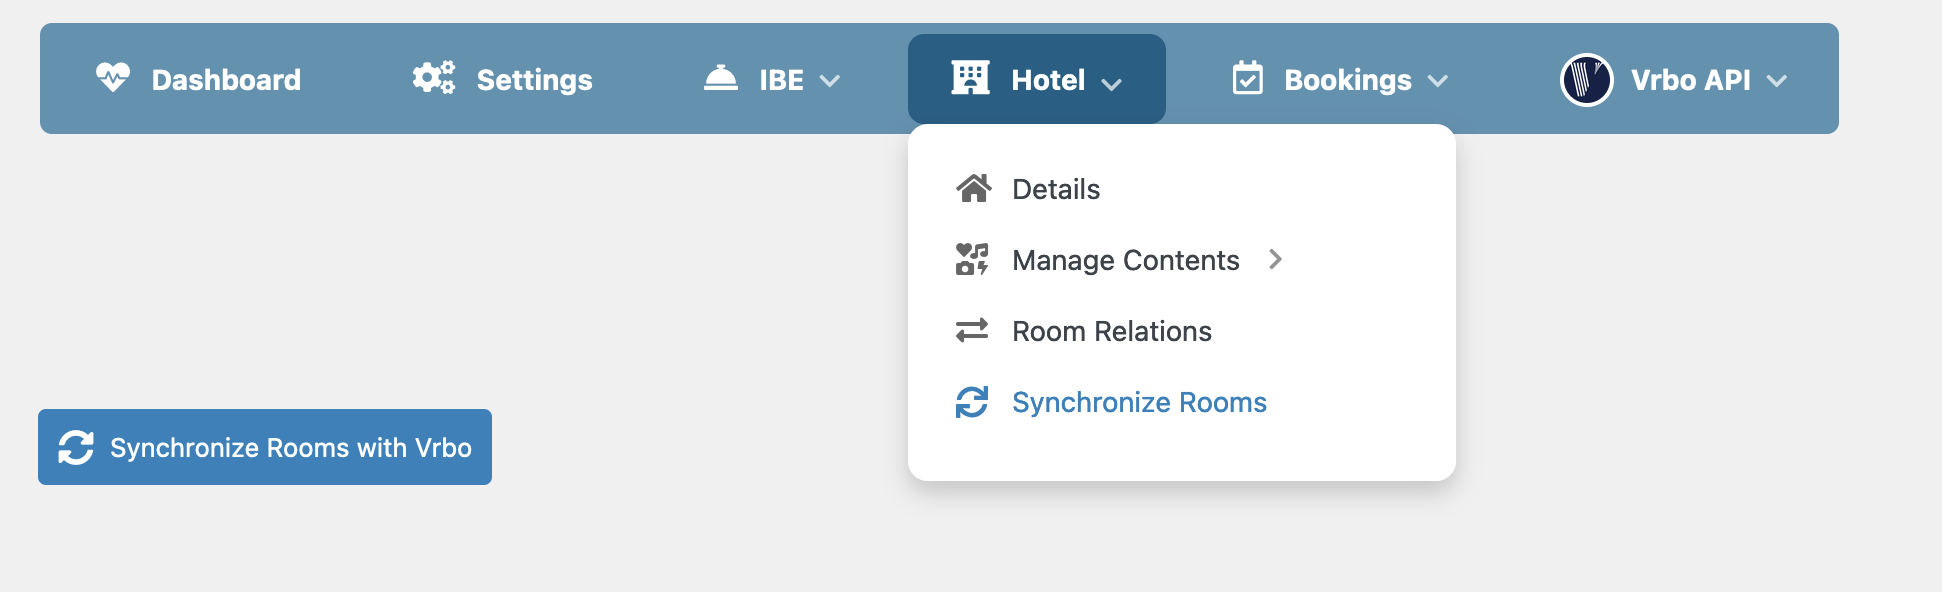
Listings can be synchronized by using the page "Hotel - Synchronize Rooms" from the apposite menu in Vik Channel Manager when Vrbo is the active channel:
By clicking the apposite button to synchronize the rooms/listings with Vrbo, the system will read all the eligible listings with enough information and a published status that were previously set up for Vrbo. This is a crucial step to complete the activation of your listings that will be advertised on Vrbo and booked by the guests.
The screen shot below shows how we've got two eligible listings with enough information that can be synced with Vrbo. All we need to do is to tell the Channel Manager what's the corresponding room-type on the website with Vik Booking so that any availability and rates management operation will work correctly:
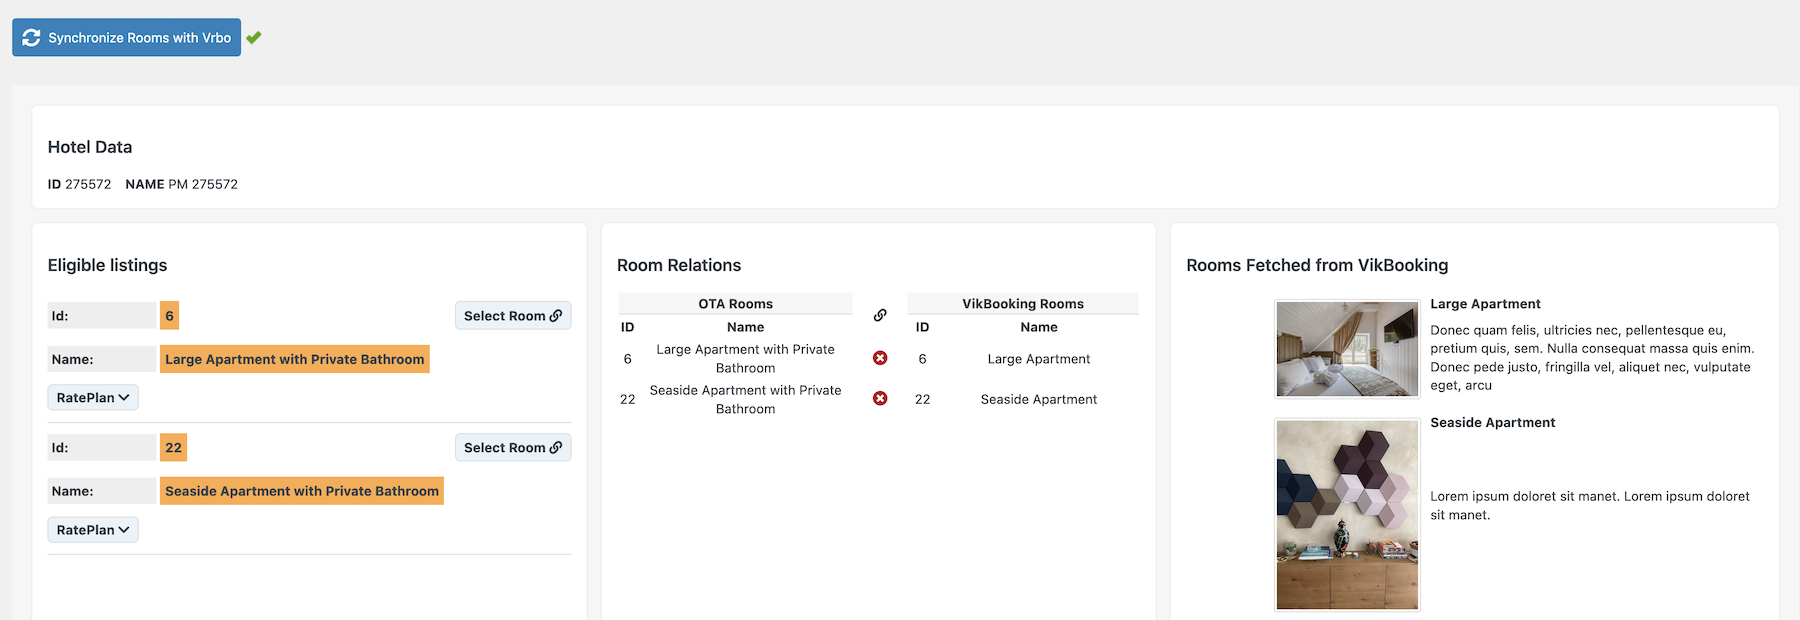
By clicking the Save button at the top of the page, the relations between the website rooms and the Vrbo listings will be created, and in our example, two listings will start being advertised on Vrbo as soon as your account will be activated and onboarded. This is the classic "rooms mapping" procedure that any API channel requires with Vik Channel Manager (such as Booking.com, Airbnb, Expedia, Google Hotel etc..).
If we go back to the page "Manage Contents - Manage Listings", this is how the mapping status will look like for our eligible listing with Vrbo:
That's all, an Account ID will be assigned to your Channel Manager and will be used by Vrbo to pull the information of your listings. If you need to activate additional listings then you can just provide their details from the page "Manage Listings", and then you will be ready to sync also the new eligible listings. Alternatively, the existing listing information can be modified at any time, or you can also delete one listing from the management page.
If you are new to Vrbo and need to create an account, or if this is the first time you are activating the Channel Manager connection between Vrbo and E4jConnect for your account, you can now go ahead by using the Self-Service Onboarding (SSO) link that will be displayed in the page Settings of Vik Channel Manager. More details are available in the apposite section for the SSO link.
You are now ready for the Vrbo account activation and onboarding phase, which is the last step before going live.
Lastly, it is recommended to launch both Bulk Actions for your Vrbo listings once your account will be enabled to finalise the configuration of this channel, even though Vrbo will still pull your updated availability and rates inventory automatically upon completing the account activation and Channel Manager software connection.
e4jConnect.com and e4j - Extensionforjoomla.com are not affiliated with or endorsed by the Joomla! Project or Open Source Matters.
The Joomla! name and logo is used under a limited license granted by Open Source Matters the trademark holder in the United States and other countries.
E4J s.r.l. - VAT N. 06794860483![]()